

I spent thirty years working a line in diner kitchens around Toledo, flipping eggs at five in the morning and pulling pie tins out of a walk-in that never quite got cold enough. I know the difference between something made right and something made fast. When my daughter asked me to make ice cream for my granddaughter's birthday last summer, I figured I'd just buy a tub from the store like everybody does. Carol talked me out of it. She'd been eyeing the Cuisinart ICE-21P1 ice cream maker for months and pushed me to finally try it instead of putting it off again. I'm glad she did, because that little machine changed how our family thinks about dessert.
Making ice cream at home isn't hard, but it isn't foolproof either. I've ruined batches by rushing the freezer bowl, by pouring in a base that was still warm, and by dumping in chocolate chips too early and jamming the paddle. This guide walks through the five steps I use every single time with my Cuisinart ICE-21P1, the same steps that turn out a smooth, scoopable batch instead of a grainy, icy mess. Follow them in order and you'll get it right on your first try, not your fourth. Nothing here requires a culinary background, just a little patience and a willingness to actually read the steps instead of winging it, which is where most first batches go wrong.
The Machine That Makes This Whole Guide Possible
Every step below assumes you're working with a compressor-free freezer-bowl churn like the Cuisinart ICE-21P1. It's the one I use in my own kitchen, and at its current price it's about the easiest dessert upgrade you'll make all summer.
Amazon Check Today's Price on Amazon →Step 1: Freeze the Bowl Like You Mean It
The Cuisinart ICE-21P1 works because its double-insulated freezer bowl gets cold enough to turn liquid into ice cream as it spins. But that bowl has to be properly frozen first, and this is where most people mess up. I keep mine laid flat in the back of our chest freezer for a full 24 hours before I plan to churn anything. Some folks try to get away with 8 or 12 hours. Don't. I tried it once when I was rushing to get ready for a Fourth of July cookout and ended up with soup that never set.
Give the bowl a shake before you pull it out. If you hear liquid sloshing around inside the double wall, it isn't ready. It should feel solid and heavy, almost like a bowling ball made of ice. I keep a piece of tape on our freezer shelf that says 'ice cream bowl, do not move' because Carol will absolutely reclaim that space for a roast if I don't mark it.
One more thing. Your freezer needs to actually run at 0 degrees Fahrenheit or colder, not just cold-ish. A freezer packed full of groceries and opened forty times a day runs warmer than you'd think. If your ice cream keeps coming out soft-serve instead of scoopable, check your freezer temperature before you blame the Cuisinart. A cheap freezer thermometer from the hardware store settled this argument in my own kitchen more than once, and it's a five-dollar way to rule out the machine as the problem.
Step 2: Build a Base Worth Freezing
A machine can only work with what you give it, and the Cuisinart ICE-21P1 can't fix a weak base. My go-to recipe starts with 2 cups of heavy cream and 1 cup of whole milk, whisked with 3/4 cup sugar until the sugar disappears completely. I add a pinch of salt, because I learned in restaurant kitchens that salt is what makes sweet things taste like something instead of just tasting sweet.
For a richer batch, closer to what you'd get from a real ice cream counter, I temper in 4 egg yolks over low heat until the mixture coats the back of a spoon, then strain it through a fine mesh strainer to catch any bits of cooked egg. That extra step takes maybe ten minutes and it's the difference between ice cream that tastes like a treat and ice cream that tastes like frozen milk. Vanilla extract goes in last, off the heat, so the alcohol doesn't cook off and take the flavor with it.
If you're feeding grandkids who won't sit still for a strainer, skip the eggs entirely. A simple cream, milk, sugar, and vanilla base still churns up fine in the Cuisinart ICE-21P1. It just won't be quite as dense. Both versions work. Pick based on how much patience you've got that particular afternoon. Either way, taste the base before it goes cold. It should taste slightly too sweet at room temperature, because cold mutes sweetness, and a base that tastes perfectly balanced warm will taste flat once it's frozen.
Step 3: Chill the Base Until It's Actually Cold
This is the step everybody skips, and it's the one that ruins more batches than a weak freezer bowl. Your base needs at least 2 hours in the refrigerator, and honestly I do mine overnight most of the time. A warm or even room-temperature base dumped into a frozen bowl starts melting the inside of that bowl on contact, and you lose your churning window before the ice cream ever has a chance to set up.
I learned this the hard way once, standing in my kitchen watching the paddle spin for 35 minutes with nothing happening but a milkshake getting slightly thicker. Cold base, cold bowl, that's the whole trick behind a good Cuisinart batch. If you're in a hurry, set your bowl of base in an ice bath in the sink and stir it for ten minutes. It drops fast that way.
I make my base the night before whenever I know we're having company. It gives the flavors time to settle together too, the vanilla and cream sort of marry overnight in a way they don't when you churn a base that's only been in the fridge for an hour. That's not just an old cook's superstition, either. Restaurants that make their own ice cream age the base overnight for the exact same reason.

Step 4: Churn It in the Cuisinart ICE-21P1
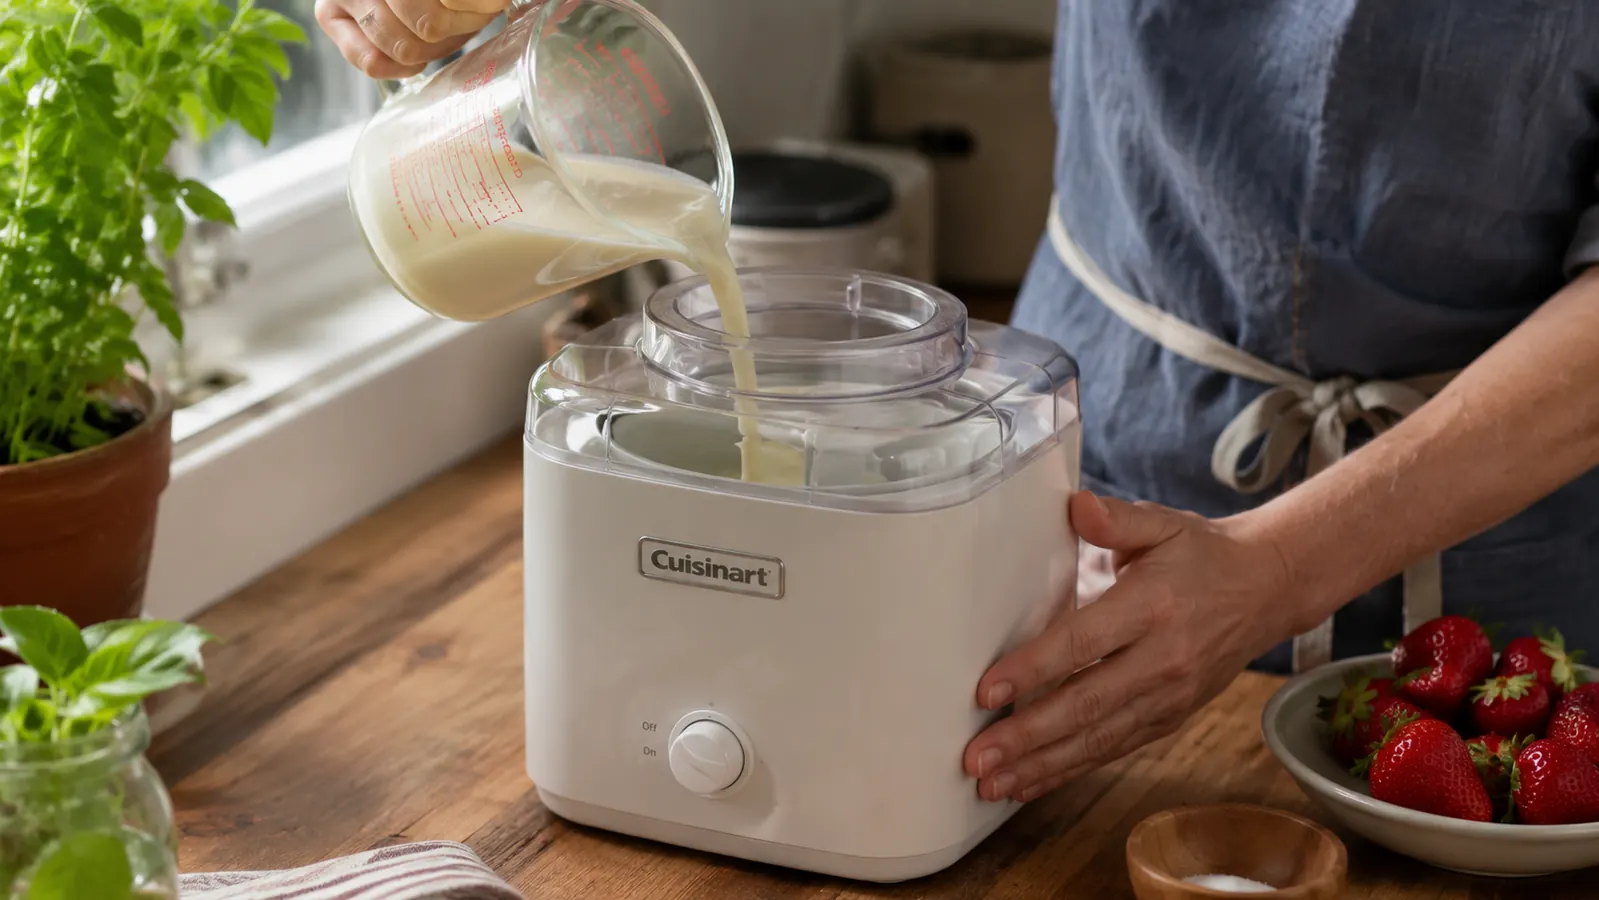
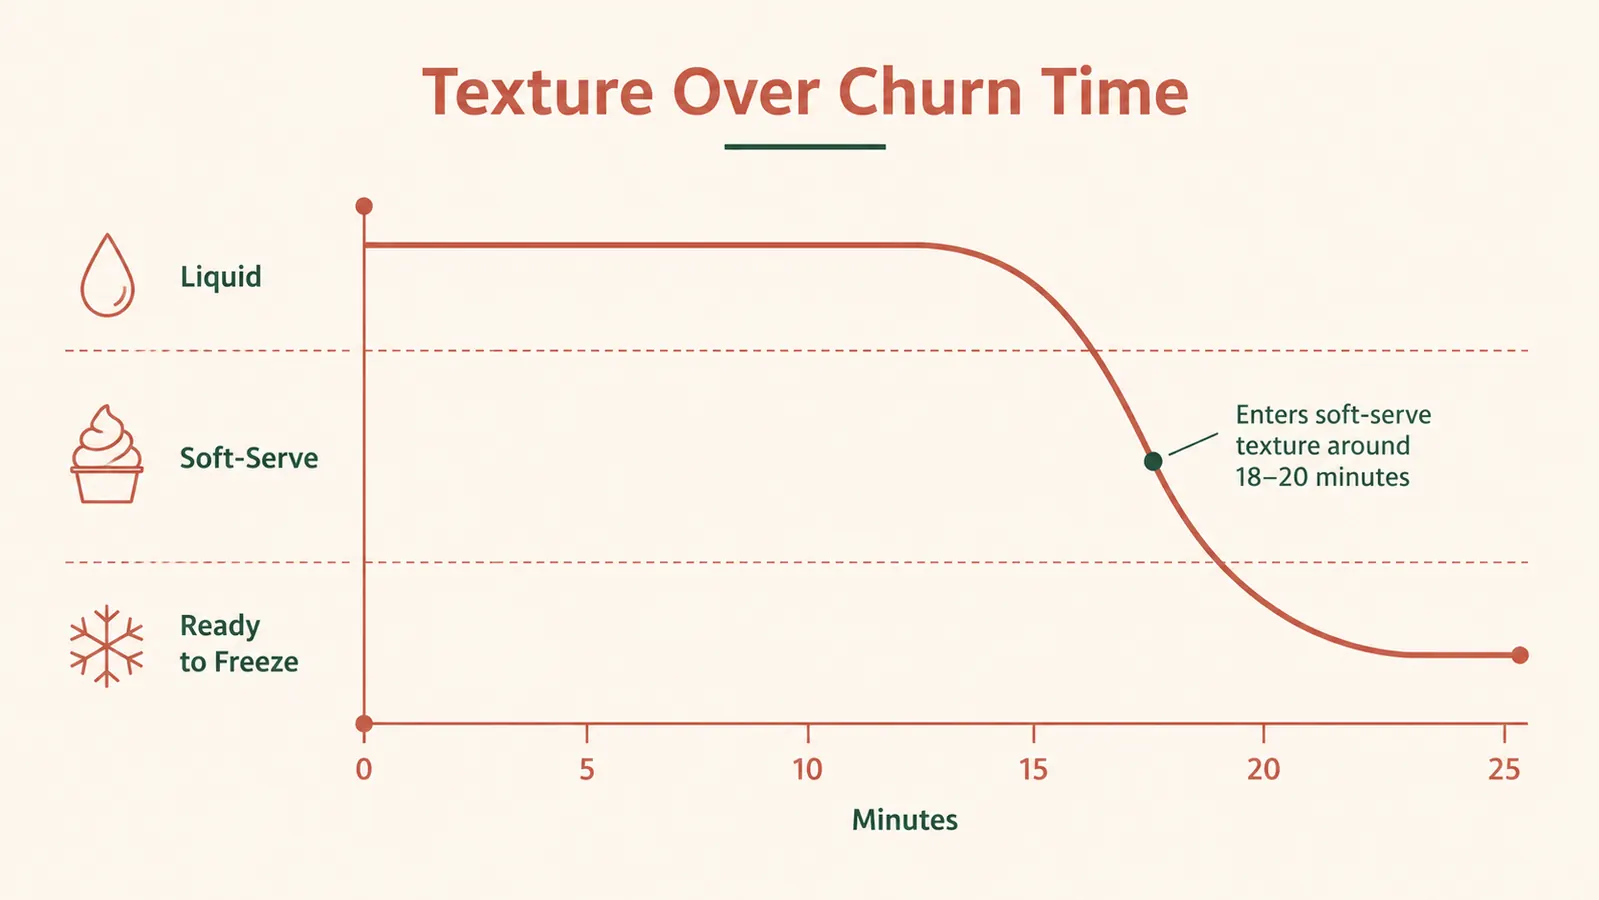
Pour your cold base into the frozen bowl with the machine already running, not before. Turn the Cuisinart ICE-21P1 on, drop the bowl into place with the paddle locked in, then pour the base in through the top. Cuisinart built this machine to run for about 20 to 25 minutes, and mine has never once needed longer than that at home. You'll watch it go from liquid to soft-serve right around minute 18 to 20.
Don't walk away for too long. This isn't a slow cooker you can leave running all afternoon. Once the mixture thickens up and starts pulling away from the sides in a solid mass, the paddle will start to strain and slow down. That's your cue it's done, not a cue to keep it going for more volume. I've pushed a batch too far trying to get it thicker and ended up straining the motor for no good reason.
The finished texture at this point is soft-serve, not hard-scoop, and that's normal. It's exactly what the Cuisinart ICE-21P1 is built to deliver in one pass. Anybody telling you their home machine turns out hard-pack straight from the bowl is stretching the truth. I set a kitchen timer for 18 minutes every time so I'm standing there watching the last few minutes instead of somewhere else in the house guessing.
Step 5: Add Mix-ins, Then Hard Freeze for Real Scoops
If you're adding chocolate chips, crushed cookies, or nuts, drop them in during the last 2 minutes of churning, not the first. Add them too early and they sink to the bottom of the bowl and jam up the paddle. I've had a Cuisinart paddle grind nearly to a stop under a pile of frozen cookie chunks I dumped in too soon. Add them late and they fold through evenly instead.
Once churning is done, transfer the ice cream to a freezer-safe container, press a piece of parchment or wax paper right against the surface to keep ice crystals from forming, and snap on a lid. Then it goes into the hard freezer for a minimum of 2 hours, though I usually give mine 4. That soft-serve straight out of the Cuisinart is delicious on its own, but if you want ice cream you can actually scoop into a cone and hand to a seven-year-old without it sliding off the top, that hard freeze step matters.
Homemade ice cream doesn't have the stabilizers and gums that keep store-bought pints scoopable for weeks in a grocery freezer. Ours gets eaten within a few days around here, which has honestly never once been a problem in my house. If it does sit longer than that, let it sit on the counter for five minutes before scooping instead of fighting it straight out of the freezer with a spoon that's going to bend.
What Else Helps
A few small things make this whole process smoother. Keep a second freezer bowl on hand if you plan on doing back-to-back batches for a party, since the Cuisinart ICE-21P1 only comes with one and it needs a full day to re-freeze between uses. I picked up a spare bowl before birthday season and it's saved me more than once. Also rinse the bowl in warm water right after churning so leftover cream doesn't freeze solid to the walls before your next batch. And measure your sugar carefully. Sugar doesn't just sweeten, it controls how soft or hard the finished ice cream freezes, so a low-sugar recipe will come out of the hard freeze noticeably harder than you'd expect.
If your ice cream comes out grainy instead of smooth, that's almost always sugar or ice crystals, not the machine. Grainy usually means the base didn't get cold enough before churning, or you took too long transferring it to the hard freezer and let it partially melt and refreeze. Icy instead of creamy usually points to not enough fat, meaning you subbed in too much milk and not enough cream. Once you've run a few batches through the Cuisinart you'll start troubleshooting these by taste without even thinking about it.
The machine does the churning. Getting the base cold enough, soon enough, is still on you.
Skip the Trial-and-Error Batches
I ruined two batches before I figured out the cold-base trick. Save yourself the wasted cream and grab the same Cuisinart ICE-21P1 I use, so your first batch turns out right.
Amazon Check Today's Price on Amazon →